UPDATE PART 2** For those of you who say you get a red mark on your forehead that won't go away for hours, after you finish rolling your hair, push the front of the band up, so it rests in your hairline instead of on your forehead. That's what I do!
She took the liberty of sharing her hair story (and a hairstyle!) with me...
and now I want to share it with you!!
Take it away Kasey...
******************
2011 was the year of "Hair-Raising Disaster!" You see, my sister decided to, of all things, get married last spring. Right when I would be 4 months pregnant. For those of you who have never experienced being 4 months pregnant after having 2 children within 2 1/2 years, let's just say being 4 months pregnant makes you feel a little frumpy.
I figured since I knew I'd feel frumpy, then I should do something fabulous with my hair, like get it straightened. But instead of paying the pros to do it, I decided to take matters into my own hands and try a 7 day straitening kit. I had read good reviews on this particular product and figured, what harm could there be? BIG MISTAKE!!!
I followed the directions to a tee. I should have listened to my gut, the smell of the product was noxious. Anything that smelled that horrible couldn't be good for hair, but I pressed on through the process.
After I finished my hair was straight, and it stayed straight but........ then I started noticing my hair was literally breaking apart, and falling out. It was awful. I had little half inch pieces of hair sticking up all over my head. In defense of this particular product, the company did refund my money, small consolation to the girl with hair falling out and wedding pictures in the near future.
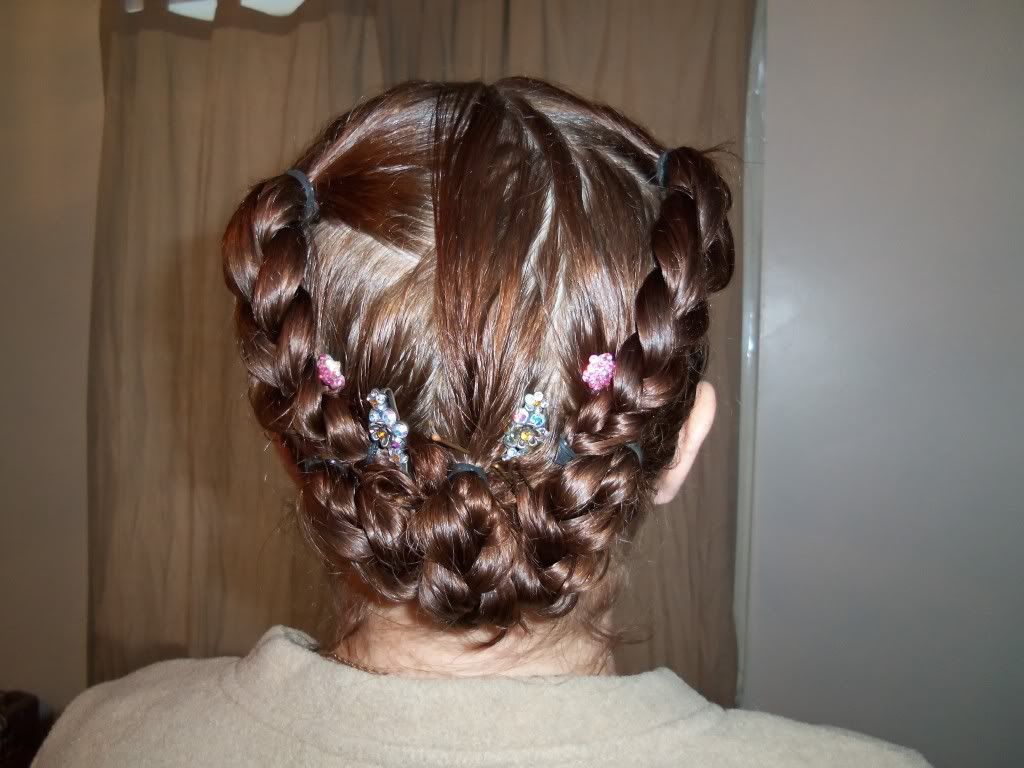
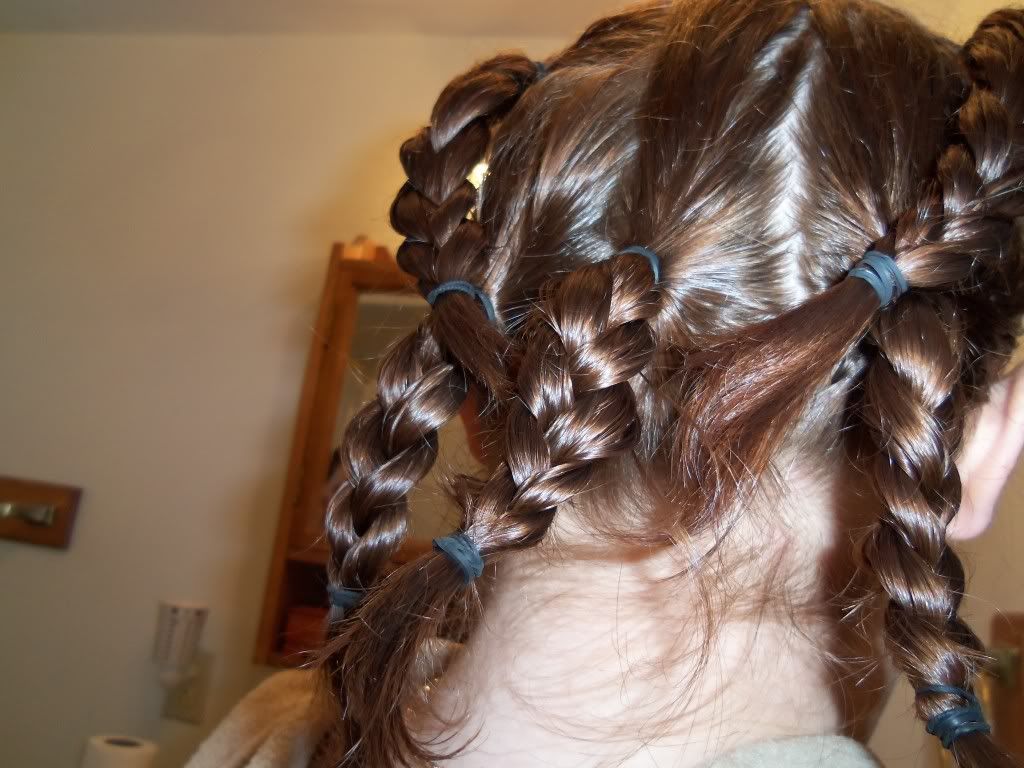
Fast forward to now, I've asked my hair's forgiveness and promised to be nicer to it. I've gotten several cuts, and things are going back to normal. But my length has not returned yet (oh how I miss a simple french braid), which is why I'm glad I found this style, the braided bun. By using 8 tiny rubber bands I was able to make it work with my medium length hair, and has been the first up-do I've been able to have in a long time, *smile*.
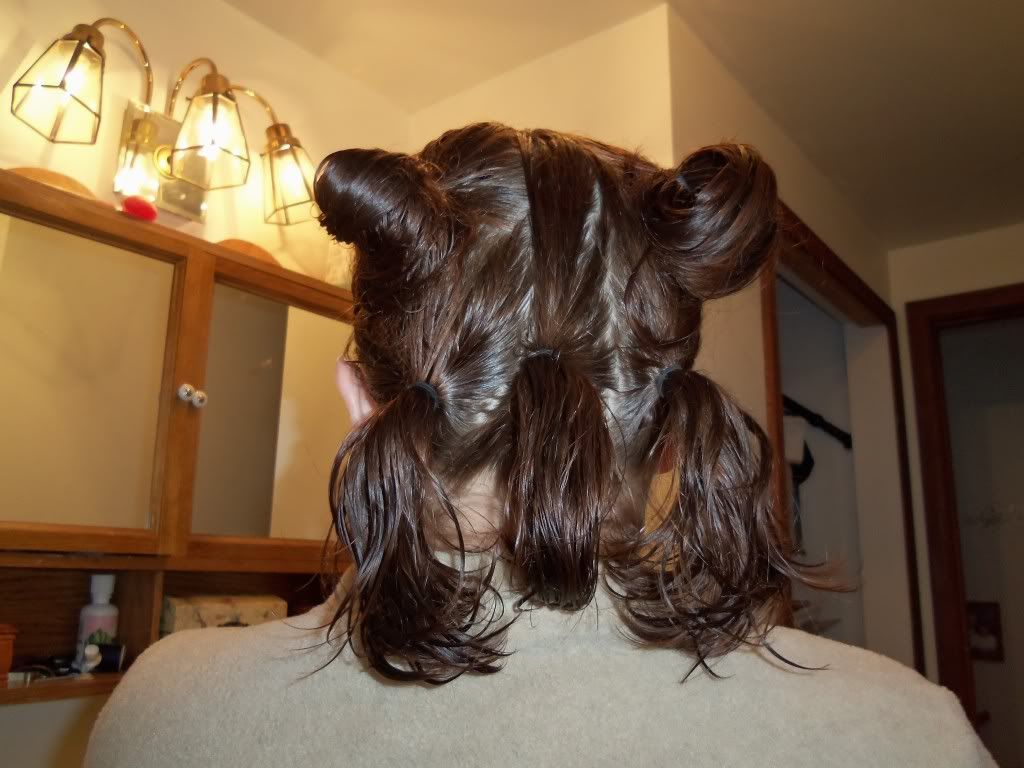
I just sectioned the top layer of hair into 2 sections, and my bottom layer into 3. The rubber-bands helped hold everything together because my hair's shorter. All in all it only takes about ten minutes to do when my hair is wet, another bonus.
I'm looking forward to being able to try some more fabulous up-dos as my hair grows, but in the mean time, I'm just happy it's not falling out!
You can find me at http://www.lessonsfromivy.com where I blog about being a wife and mom to three fabulous kiddos, and I hope I won't need to share any more hair disaster stories.
************************
Want to try out a hairstyle and be featured on Bye Bye Beehive?
I recently had an email asking how to make big hair
without all the teasing and hairspray.
Now, I haven't figured out a way to do this with my hair down,
but with it up? It's a cinch!
Begin with wavy or curly hair (dirty hair with a bit of texture works best!) Put your hair into a high ponytail.
Add an alligator clip horizontally that goes through your hair under your ponytail and also partly through your pony. It should make the hair bounce up immediately.
Make sure your hair in your ponytail is spread out throughout the top of the alligator clip
Mess up your ponytail for added oomph.
Voila— a big, messy ponytail.
If you really want you can add some hairspray, but I didn't find it necessary.
Sure, it fell a bit throughout the evening,
but that's OK because dudes don't tend to prefer it that big anyway. Trust me, if you're doing big hair, guys probably are not a fan. Keep it simple! ♥